The Manage Features page enables you to create a new Custom Feature Configuration using a step-by-step wizard.
1. To create a Feature Configuration Select +.
The Feature Configuration Creation Wizard will open. This is a multi-step process, which will guide you through the creation of a new Feature Configuration.
TIP:
To leave the Feature Configuration Creation Wizard at any time without creating or modifying a Feature Configuration, select the Exit Wizard button located in the bottom left corner of the wizard.
2. Choose a vendor for the Feature Configuration by selecting one of the available vendor options displayed.
NOTE:
A Feature Configuration will only apply to devices from the same vendor. If you wish for a Feature Configuration to be used on devices from multiple vendors, you must create a Feature Configuration for each individual vendor.
3. Select the Next button at the bottom of the page. The button will not be enabled, unless a vendor has been selected.
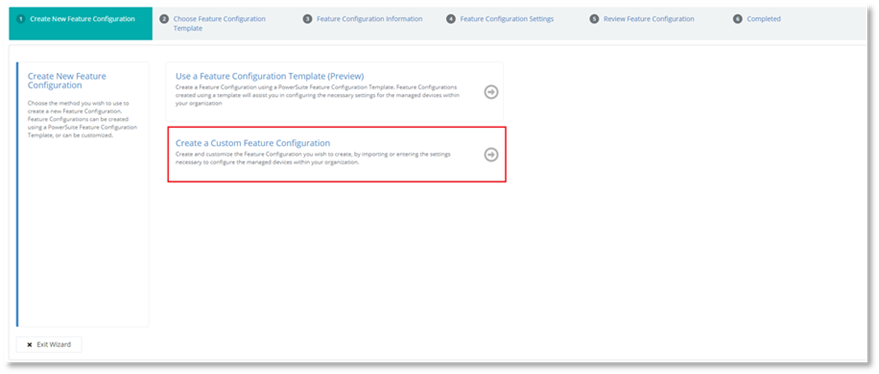
4. Select Create a Custom Feature Configuration.
5. Enter the following information in the dedicated fields:
- Category
- Description (optional)
NOTE:
Category and Name are required fields; however, Description is not a required field. Therefore, if you wish, you may leave the Description field empty, and still move on to the next step of the Wizard.
6. Select Settings.
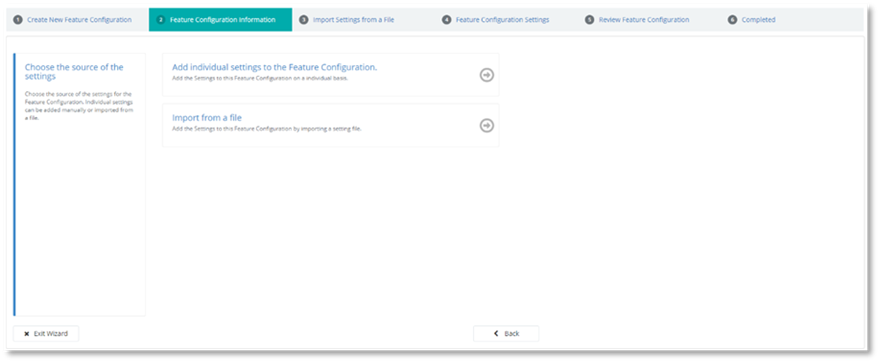
7. If a vendor other than Poly is selected. Proceed to the next step of Adding Individual Settings to Feature Configuration.
8. If Poly is selected as the vendor, select the method to import the settings to continue creating the Custom Feature Configuration:
- Add individual Settings to the Feature Configuration.