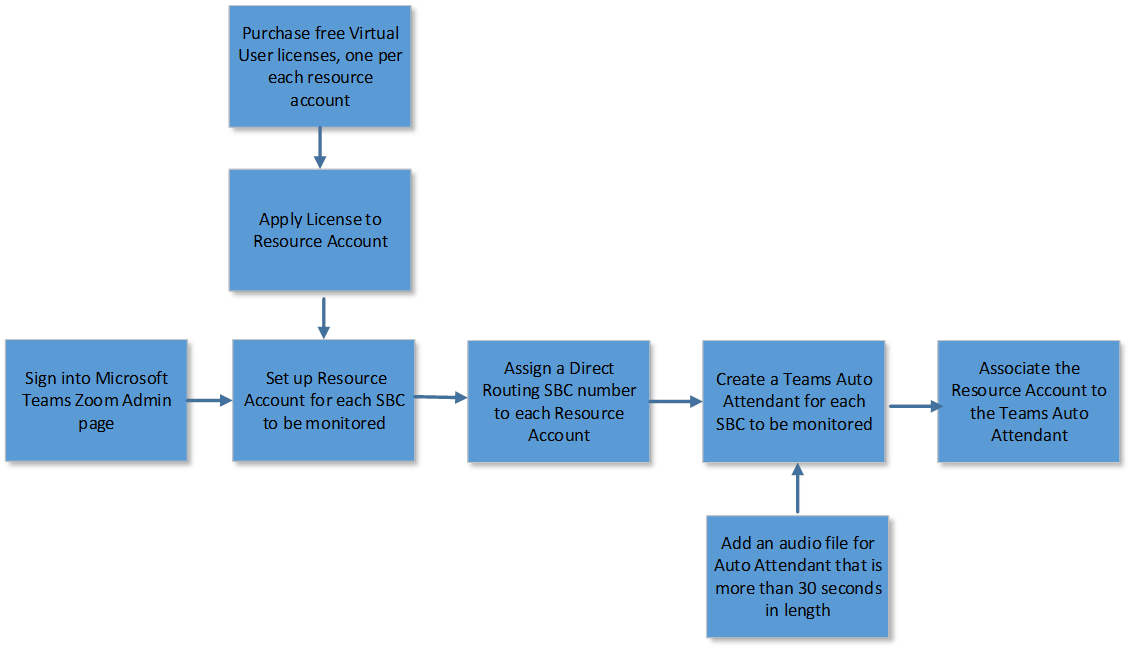
In Microsoft Teams the target phone number will be the Microsoft Teams Auto Attendant. To set up the Microsoft Teams auto attendant there are multiple steps which are detailed below:
NOTE:
Further information on setting up a target phone number in Microsoft Teams can be found in Microsoft’s Auto Attendant Help Page.
Pre-requisite: SBC Direct routing with Teams must be configured properly, reserve on-premises PSTN numbers from Direct routing number space.
NOTE:
Microsoft Teams’ auto attendants must have an associated Teams resource account. Each resource account will be associated with a service phone number for the monitored SBC phone number space. Several resource accounts, each with an individual service number may be assigned to the same auto attendant. The number of resource accounts count must equal the number of monitored SBCs.
Example:
Five monitored SBCs need five resource accounts with five service phone numbers.

To set up the Resource Account:
1. Obtain a Free Phone System - Virtual User license from Microsoft Teams to set the Resource Account. To obtain the license:
a. Sign in to Microsoft 365 admin center.
b. Select Billing from the left-hand pane.
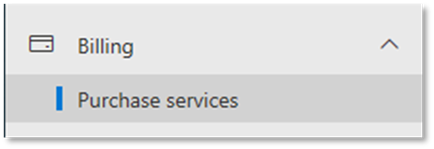
c. Select Purchase services.
d. Select Add-ons.
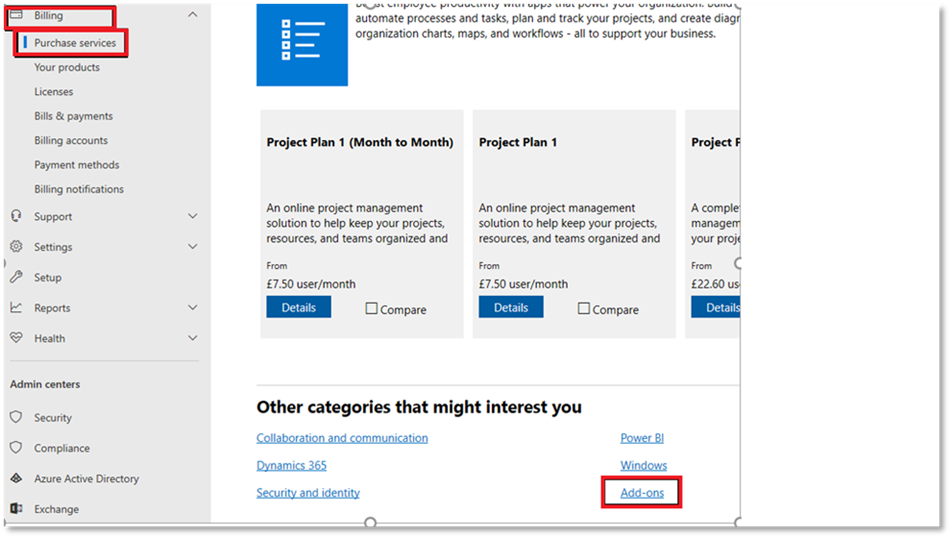
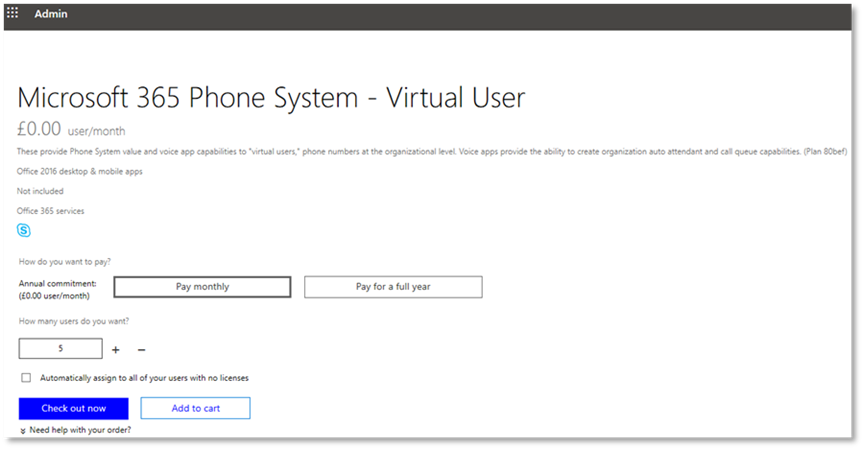
2. Scroll to the end to the Microsoft 365 Phone System – Virtual User license.
e. Select Details.
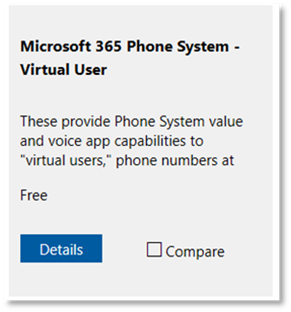
f. Add the number of licenses you need in the How many users do you want field.
NOTE:
In Microsoft Teams every auto attendant is required to have at least one associated Resource Account.
g. Select Check out now.
NOTE:
You must purchase the license even though the cost is zero.
3. To create a Microsoft Teams Resource Account for online only deployment:
a. Navigate to Microsoft Teams Admin Center (TAC).
b. Ensure you have purchased the phone system license.
c. Select Org-wide settings from the navigation settings.
d. Select Resource accounts.
NOTE:
A resource account number is needed for each SBC to monitored.
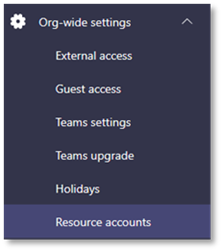
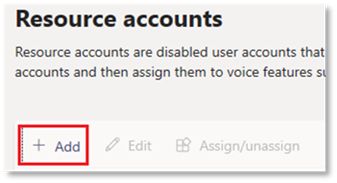
a. Select Add in the Resource account pane.
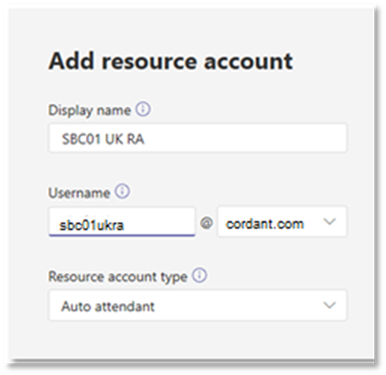
b. Enter the information into the following fields:
i. Display name
ii. Username
iii. Domain
c. Select Auto attendant for Resource account type.
d. Select Save.
4. To create a resource account for a hybrid deployment (syncing accounts between on-premises and online):
NOTE:
Hybrid connectivity between Skype for Business Server and Skype for Business Online means users of a domain, such as cordant.com, are split between using Skype for Business Server on-premises, and Skype for Business Online. Some of the domain users are homed on premises, and some users are homed online. The application endpoint will be configured as online users, reachable by the on-premises users.
a. A PowerShell command needs to be executed on the on-premises Skype for Business server to Create an on-premises resource account for each phone system auto attendant:
e. Run the New-CsHybridApplicationEndpoint cmdlet for each Phone System auto attendant. This PowerShell command must be run in the Skype for Business Server. It will be copied to Skype for Business Online via direct sync.
Ø Name the resource account.
Ø Provide each resource account a sip address
Ø Provide each resource account a premises resource.
ii. Repeat for each resource account.
Example:
New-CsHybridApplicationEndpoint -ApplicationId ce933385-9390-45d1-9512-c8d228074e07 -DisplayName SBC01ukra -SipAddress sip: SBC01ukra@cordant.com -OU "ou=seattle,dc=cordant,dc=com"
To apply the license to the resource account in the Microsoft 365 Admin center:
1. Navigate to Microsoft 365 admin center.
2. Select Users.
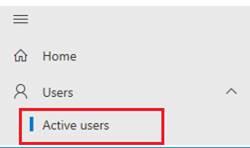
3. Select Active users.
4. Enter the previously created resource account name (example: sbcukra1@cordant.com) in the Search field located on the right-hand side of page.
5. Select the account name that you searched for and want to use.
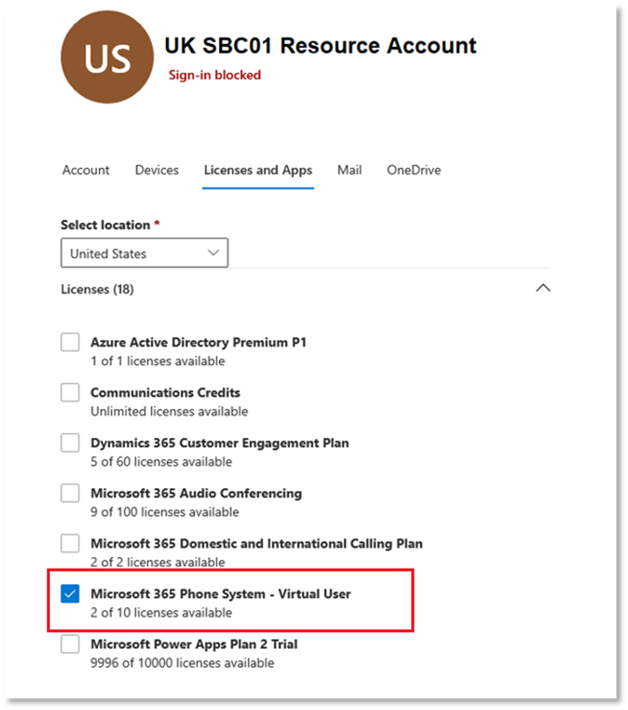
6. Navigate to Licenses and Apps tab.
7. Select Microsoft 365 Phone System – Virtual User to assign the license.
4. To assign the monitored SBC phone number to the earlier created resource account.
Use this PowerShell command:
Set-CsOnlineApplicationInstance -Identity uksbc01ra@cordant.com -OnpremPhoneNumber +14250000000
To Create a Teams Auto Attendant:
1. Navigate to Microsoft Teams Admin Center (TAC).
2. Select Voice.
3. Select Auto attendants.
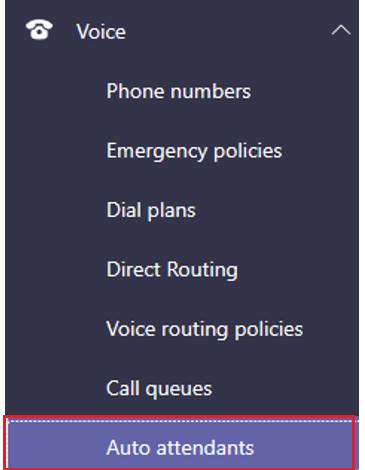
4. Select Add.

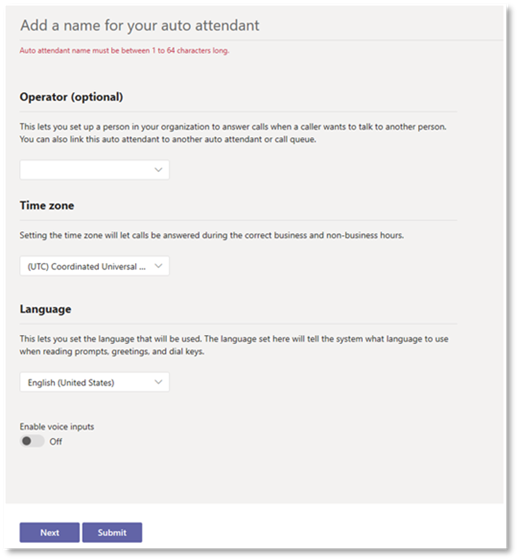
5. Enter the following required information:
•Auto attendant name
•Time zone
6. Select Next.
7. In the Call Flow page, select Play an audio file.
8. Select Upload file.
9. Select the audio file to upload.
NOTE:
The file must be in .WAV, .MP3, or .WMA format and no larger than 5 MB.
IMPORTANT: Ensure the audio in the file is a minimum of 30 seconds in length.
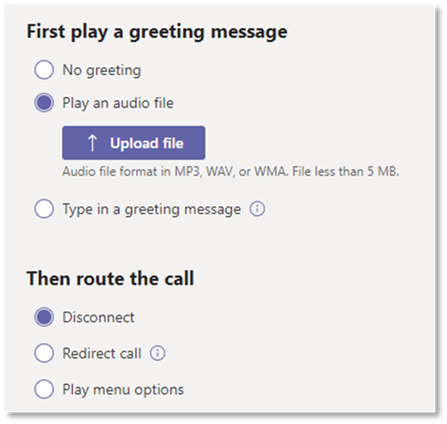
10. Select Disconnect in the Then route the Call section.
11. Select Next.
12. Do not change anything In the Set Business hours, Holiday call settings and find people pages.
13. Select Next to navigate to the Resource Account page.
To Associate the Resource
Account with an Auto Attendant:
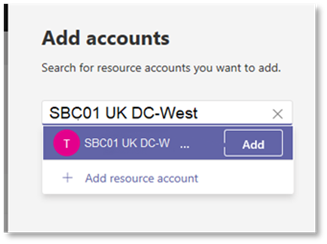
1. In the Resource accounts page select Add.
2. Enter an earlier created resource account’s resource account name into the search field.
NOTE:
For better search results enter the exact name of resource account.
3. Select Add.
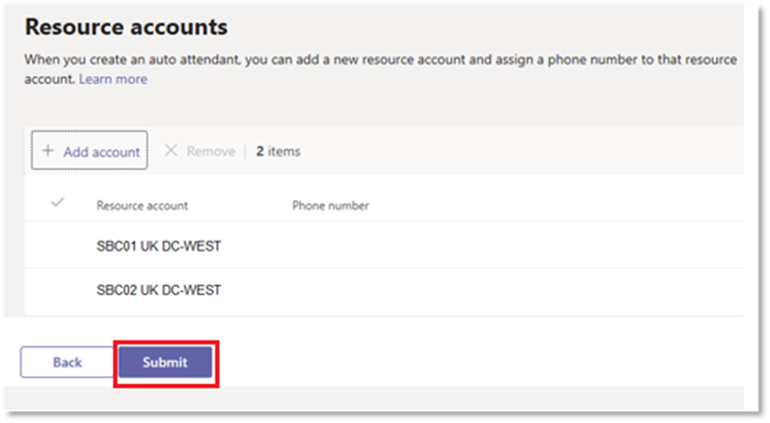
4. Repeat steps 1 to 3 in this section to add all the created resource accounts.
5. For the better search results, type in exact resource account name
NOTE:
Multiple resource accounts can be added to the same Auto Attendant.
6. Select Submit to finish creating the auto attendant call flow, once all the created resource accounts for the monitored SBCs have been added to auto attendant.
NOTE:
The same results can be achieved using the PowerShell cmdlet “New-CsApplicationInstanceAssociation” for each resource account and auto attendant.