NOTE:
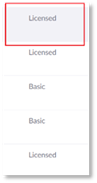
PowerSuite only supports Zoom accounts where at least one user is a licensed user. PowerSuite does not support Zoom accounts where all the users are of basic type.
To Configure Zoom for PowerSuite:
1. Navigate to the Configuration page.
2. Select Platforms.
3. Select Zoom from the left-hand side pane.
4. Determine if you have the Zoom authorization rights to install PowerSuite Apps.
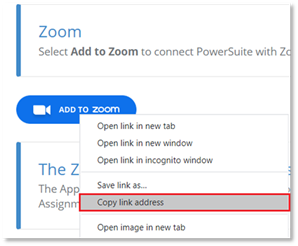
a. If you do not have the necessary Zoom permissions:
i. Right click the Add to Zoom button
ii. Select Copy link address, and save the address
iii. Contact your Zoom Administrator for assistance and send the copied link address to the Zoom Administrator
b. If you have the necessary Zoom permissions continue to the next step.
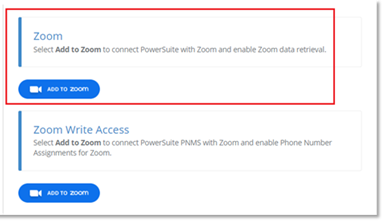
5. Select Add to Zoom button under Zoom. You will be navigated to Zoom.
a. Login to your Zoom account if you are not already logged into Zoom.
You will be navigated to the PowerSuite is requesting Zoom access to your Zoom account page.
6. If you agree to the terms, select Authorize.
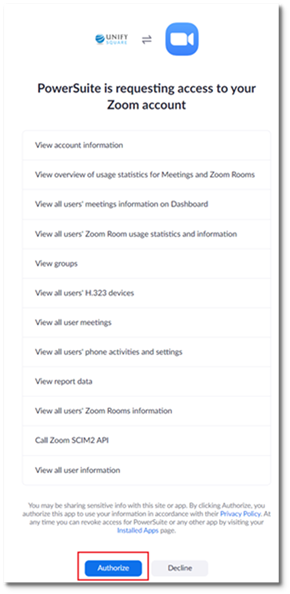
A success notification will appear in the top-right corner of the page.
IMPORTANT:
Only continue with the next steps if your organization is enabled to use the PowerSuite Phone Number Management dashboard.
7. Navigate to PowerSuite Configuration page again.
8. Select Platforms.
9. Select Zoom from the left-hand side pane.
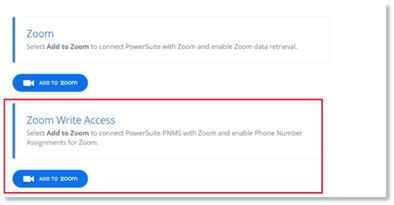
10. Select Add to Zoom button under Zoom Write Access. You will be navigated to Zoom,
a. Login to your Zoom account if you are not already logged into Zoom.
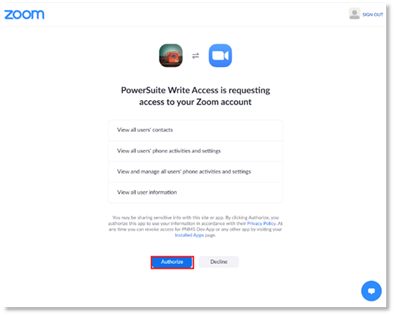
You will be navigated to the PowerSuite Write Access is requesting Zoom access to your Zoom account page.
11. If you agree to the terms, select Authorize.
A success notification will appear in the top-right corner of the page.